First setup
The first startup
After sucessfully installing the Until Uru Locator on your system, you are now able to start the program for the first time. During this first startup the program will do some automatic configurations in the background and then download the list of the compatible shards. If this first download fails, you'll see an error message. If this happens, check your internet settings. Note: If the download of the compatible shard list has succeeded once, the Until Uru Locator will use it's cached shard list, if it isn't able to connect to the internet during startup. So if new shards don't show up in your shard list, the reason might well be a constant problem with the internet connection during the program's startup.
Activating the monitoring of the shards
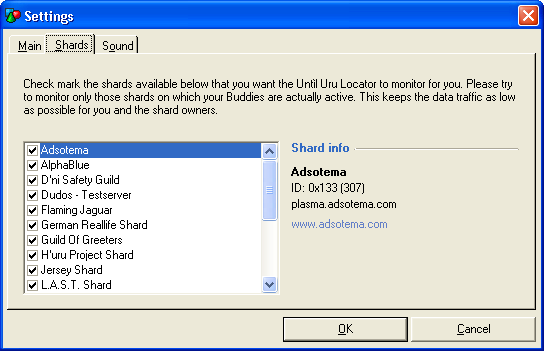
Right after the program's startup, nothing will happen, because the monitoring of the compatible shards is deactivated by default. To activate the monitoring for some or all of the shards, in the menu „Program“, click on the entry „Settings“ and choose in the upcoming dialog the tab „Shards“.
In the boxed list on the left hand side, you will now see all shards that are actually compatible with the Until Uru Locator. Activate one of them by a left click on the box in front of the shard's name and mark it with the little hook there. Do the same for all other shards you want the software to monitor for you. Confirm your choice by pressing the „OK“ button.
